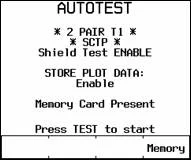
The best way to show this is in the form of an example. This also works in the same way for the DSP-100 and DSP-2000 CableAnalyzers.
Note: To protect customers purchasing cabling systems, you cannot change the limit lines for NEXT, PSNEXT, ELFEXT, PSELFEXT, Attenuation and Return Loss. Any custom tests are clearly marked with an Asterisk, e.g. *Cat5*.
Example: I want to test a link with only two pairs.
Rotate the dial to SETUP.
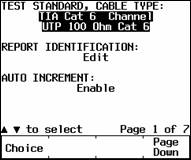
Press Key 4 until you reach page 7
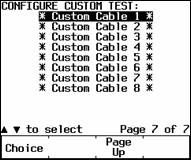
Press ENTER
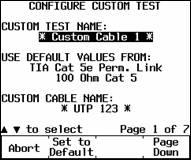
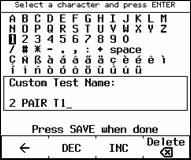
Decide on a name for your test; press ENTER to put the name into the analyzer.
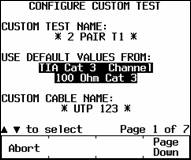
Now we need to pick a standard to base the test on. In this example we will pick TIA Cat 3 Channel.
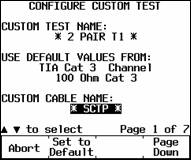
Now we need to change the cable name, in this example we shall enter SCTP.
Press Key 4 to advance to page 2. You can change the length an NVP here. Well keep it as it is in this example.
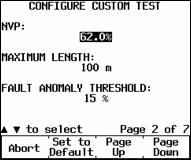
Press Key 4 will advance to page 3. Press ENTER to change.
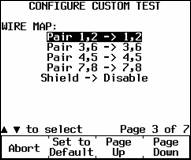
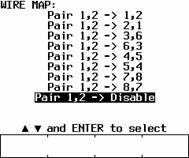
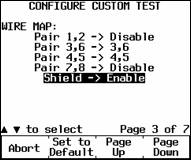
Any configuration can be built.
Now press SAVE.
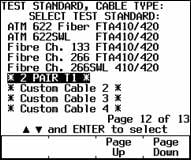
Now select the standard you just created. Go to page 1 of 7 and press ENTER.
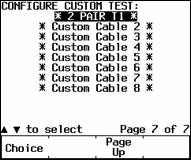
Page down to find your custom limit and press ENTER. Once selected you can rotate the dial to AUTOTEST ready to go.